The Formation Graphic Trap: When a Starting Shape Misleads
A formation graphic shows only a starting arrangement. Learn to read the changing lanes, support and defensive cover that reveal how a team uses space.
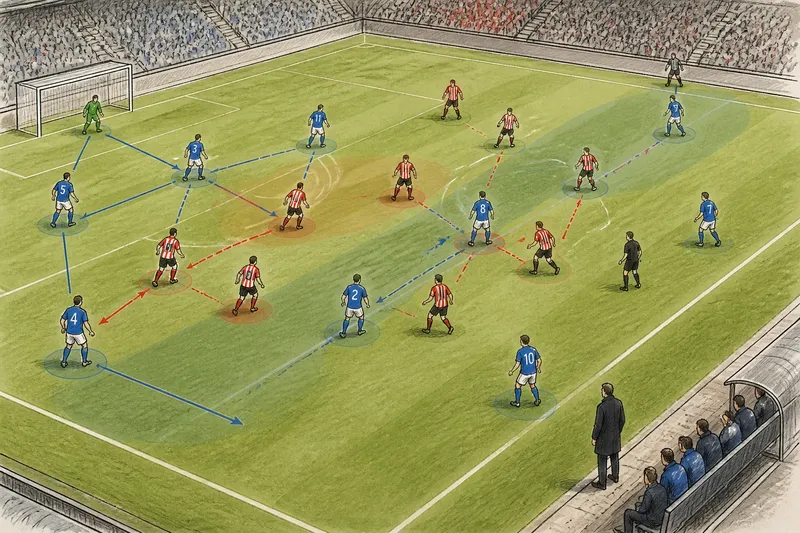
A formation graphic can show a team in a 4-3-3 while its players build an attack in a 3-2-5. The graphic is a useful starting point, but a formation graphic cannot show how players reshape the pitch as possession changes hands.
Consider an invented match between Northbridge Town and Vale Athletic. Northbridge are listed in a 4-3-3, but their right-back moves into midfield during build-up, their left-back stays deeper and their right winger holds the touchline. Those choices create a particular pattern of width and cover; different instructions would produce a different pattern from the same team sheet.
What the graphic misses
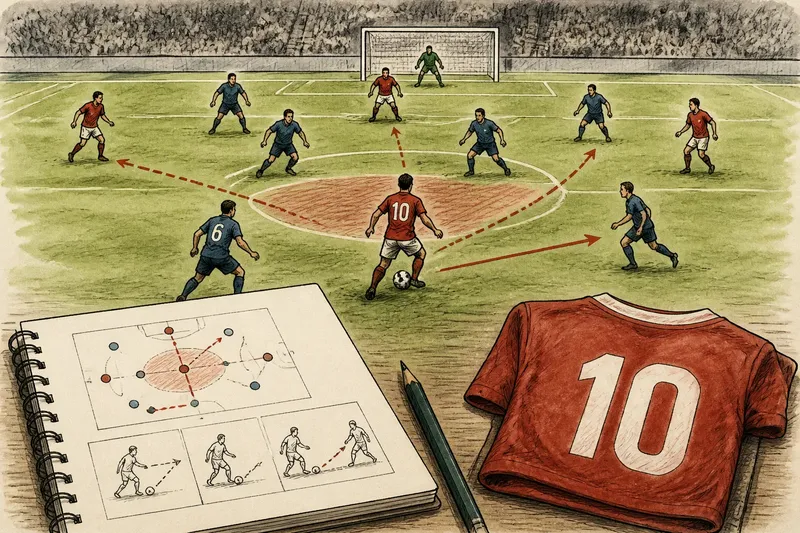
A team-sheet graphic freezes players into a convenient arrangement, usually at kick-off. It cannot show the timing of a run, the trigger for a press or the spaces a player occupies in different phases. Nor can it tell you whether a forward is closing down a centre-back, screening a midfielder or staying ready for a counter-attack.
Formation labels describe broad starting relationships, not a complete tactical plan. A 4-3-3 and a 4-2-3-1 may look similar on a graphic, and their players can occupy similar spaces at certain moments. The differences become clearer in the choices around the ball: who advances, who covers and which passing lanes open.
Think of the graphic as a street map with the traffic removed. It can show the routes, but not which ones are busy or who has changed direction. In football, those movements shape the view more than the printed rows do.
Northbridge in possession
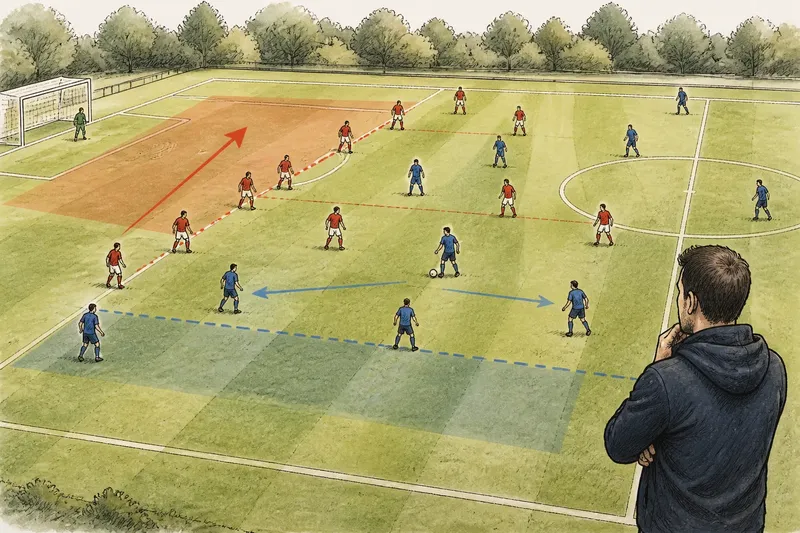
In the invented match, Northbridge begin a build-up with the goalkeeper and two centre-backs. The left-back stays close to the left centre-back, while the right-back steps inside alongside the holding midfielder. Northbridge now have a three-player base behind a pair in central midfield, although the team sheet still says 4-3-3.
The right winger remains wide, leaving room for the right-back to move inside. On the opposite side, the left winger heads towards the penalty area while the left-back holds a deeper position. Each choice affects a teammate’s space: the wide player can stretch Vale’s defence while the right-back offers a central passing option.
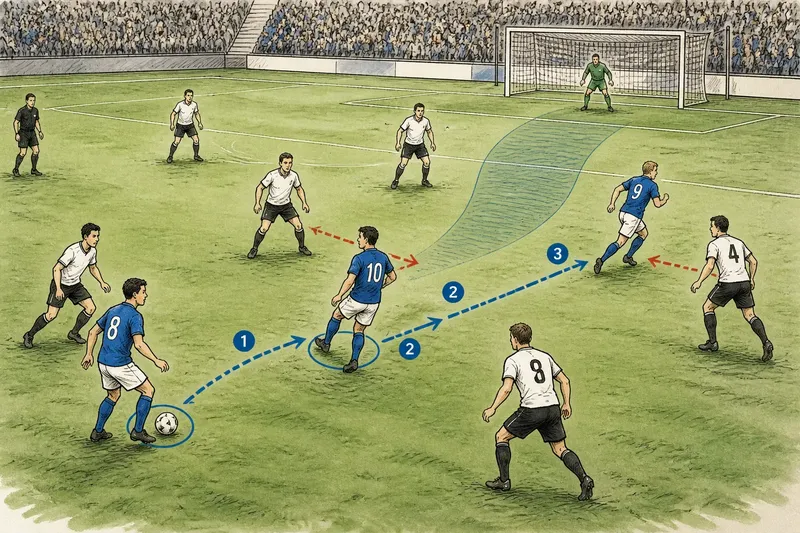
Vale’s response makes the pattern easier to see. Its left winger presses Northbridge’s left centre-back, while its central forward curves a run to block the pass into the holding midfielder. Vale’s nearest midfielder follows the right winger towards the flank, leaving Northbridge’s right-back free inside. A viewer focused only on the ball may miss why that option has opened.
This does not prove that Northbridge are “really” a 3-2-5. It describes one phase: five players occupy advanced lanes, supported by two deeper midfielders and a three-player base. A turnover, backward pass or change in Vale’s press could alter the arrangement.
Track the shared spaces
Rather than renaming the formation whenever someone moves, watch how players share lanes and protect space. The useful question is not simply where one player goes, but what that movement leaves open for a teammate or opponent.
- Full-back and winger: Check whether the winger holds the touchline when the full-back moves inside. If both occupy the same channel, then the team may lack width; if they separate, then the winger can stretch the defence while the full-back offers an inside pass.
- Centre-back and holding midfielder: Check whether the midfielder stays behind the ball when a centre-back carries forward. If the space in front of the defence is uncovered, then the centre-back should pause or a teammate should drop in; if it is protected, then the carry can help break the press.
- Winger and overlapping full-back: Check whether a winger moving infield leaves the outside lane open. If the full-back advances into it, then the team gains width; if the full-back stays back, then the side keeps extra cover against a counter-attack.
- Striker and attacking midfielder: Check whether a midfielder runs beyond when the striker drops towards the ball. If both come short, then the defence can hold its line; if one runs beyond, then defenders must decide whether to follow or protect the space behind.
- Far-side players: Check whether players away from the ball stay wide, move towards the penalty area or remain deeper. If they stay wide, then a switch of play may be available; if they move forward, then the team adds a target in the box but may leave less cover after a turnover.
- Midfield line and opposing forwards: Check whether a midfielder remains available behind the opponent’s first press. If that passing lane is blocked, then the defenders may need to use a wide route; if it stays open, then a forward pass can bypass the first line.
Look for these relationships across several passages. One unusual movement may be a response to a loose ball or a particular opponent, rather than a settled instruction. A recurring pattern offers a clearer account of how the team is trying to use space.
When Vale adapts
Suppose Vale recognises Northbridge’s inside pass. Its left winger stops chasing the centre-back and blocks the route into the right-back. A central midfielder shifts across to cover the holding midfielder, while Vale’s left-back stays close to Northbridge’s wide right winger.
The listed formation has not changed, but Northbridge’s options have. The right-back is no longer an easy inside outlet. The winger can still receive near the sideline, though Vale’s left-back is ready to contest the ball. Whether the winger is isolated depends on the nearby support and the defenders covering behind.
Northbridge adjust by sending the right-back towards the touchline and letting the holding midfielder drop between the centre-backs. The change offers a different route through Vale’s first line and shifts who can collect a hurried pass. Formation numbers alone do not capture that exchange of duties.
Imagine an invented variation in which Northbridge’s right winger repeatedly comes inside, but the right-back stays deep. The winger now occupies a narrower lane, while the right-back remains behind the ball rather than joining midfield. The same 4-3-3 graphic would describe a different balance of attack and cover.
Questions about formation graphics?
Can a team use more than one formation?
Yes. A side may defend in one arrangement and build attacks in another, with players changing lanes as the ball moves. Name the phase you mean rather than treating each shape as a competing label.
Why do broadcasters show one formation?
A single graphic gives viewers a quick sense of expected starting positions, based on the team sheet and available information. It is a reference point, not a record of every movement or tactical instruction.
How can I tell when a team has changed its shape?
Compare the players’ positions during a settled build-up with their positions when the opponent presses or possession turns over. Look for a recurring change in the team’s lines and lanes, rather than treating one player’s unusual position as a new formation.
Does a formation number explain a team’s style?
No. A team can use the same nominal shape to keep possession, play direct passes or defend compactly, depending on its decisions and the spaces it protects. Watch which routes the players create and which they close.
Follow the next phase
In the invented match, Northbridge eventually switch the ball from left to right. The right winger receives with the full-back holding back; only after Vale’s midfield shifts towards the ball does the right-back move inside. That delay leaves the winger room and opens a central option.
Say Northbridge start another invented attack with the goalkeeper, two centre-backs, a right-back, a holding midfielder and a right winger in their usual build-up positions. Vale now presses the centre-backs and blocks the pass into midfield. Northbridge send the ball wide to the right winger; Vale’s left-back steps out, and its midfield shifts towards that flank. The right-back then moves inside behind the shifting midfield, giving the winger a short central pass. The resulting choice is clear: Northbridge can use the inside route if the winger can play forward, or return the ball to the centre-backs if Vale closes it.
To read a match beyond its formation graphic, begin at a goal kick or during a settled build-up. Notice the deeper line, the central support and the width on each flank. Then watch what changes when the opponent presses, the ball travels to another area or possession turns over.
Keep attacking and defensive shapes distinct in your mind. Northbridge may defend in a 4-3-3 with the wingers dropping alongside midfield, then attack with the right-back inside and the left winger high. For a sharper reading of a formation graphic, ask what space each movement opens, who is left to protect it and how the opponents respond.